How to adjust exchange rates in Business Central?
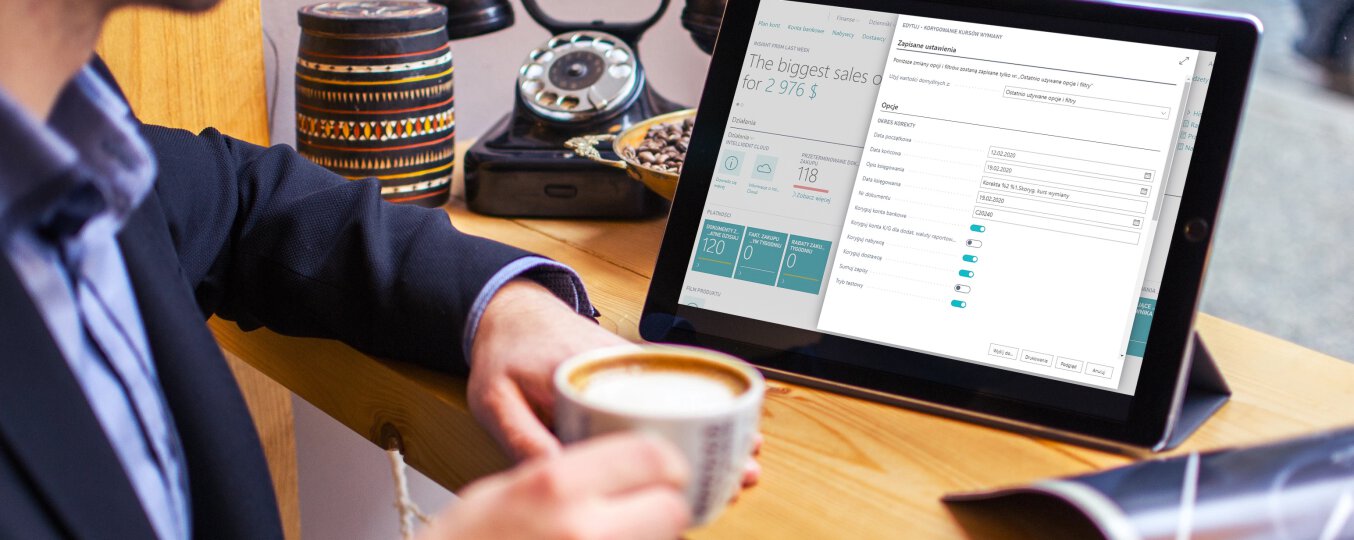
Companies operating in the global market must constantly handle transactions in many currencies. Business Central is a multi-currency system that allows you to operate in different countries simultaneously. As you know, exchange rates are constantly changing, so before making a transaction you should check the exchange rate or use an automated solution such as Business Central.
By default, the general ledger uses the local currency, but you can also use a different currency with the assigned exchange rate. By designating the second currency as an additional reporting currency. Business Central automatically records amounts in both our local currency and the additional reporting currency. This is important for entries in the general ledger and other entries (VAT etc.).
The following describes how to adjust exchange rates in Business Central
Rates can be adjusted to individual customers, suppliers and banks by running a batch job. To run a batch job, enter Adjust exchange rates in the search field and then select Adjust exchange rates … in the search results.
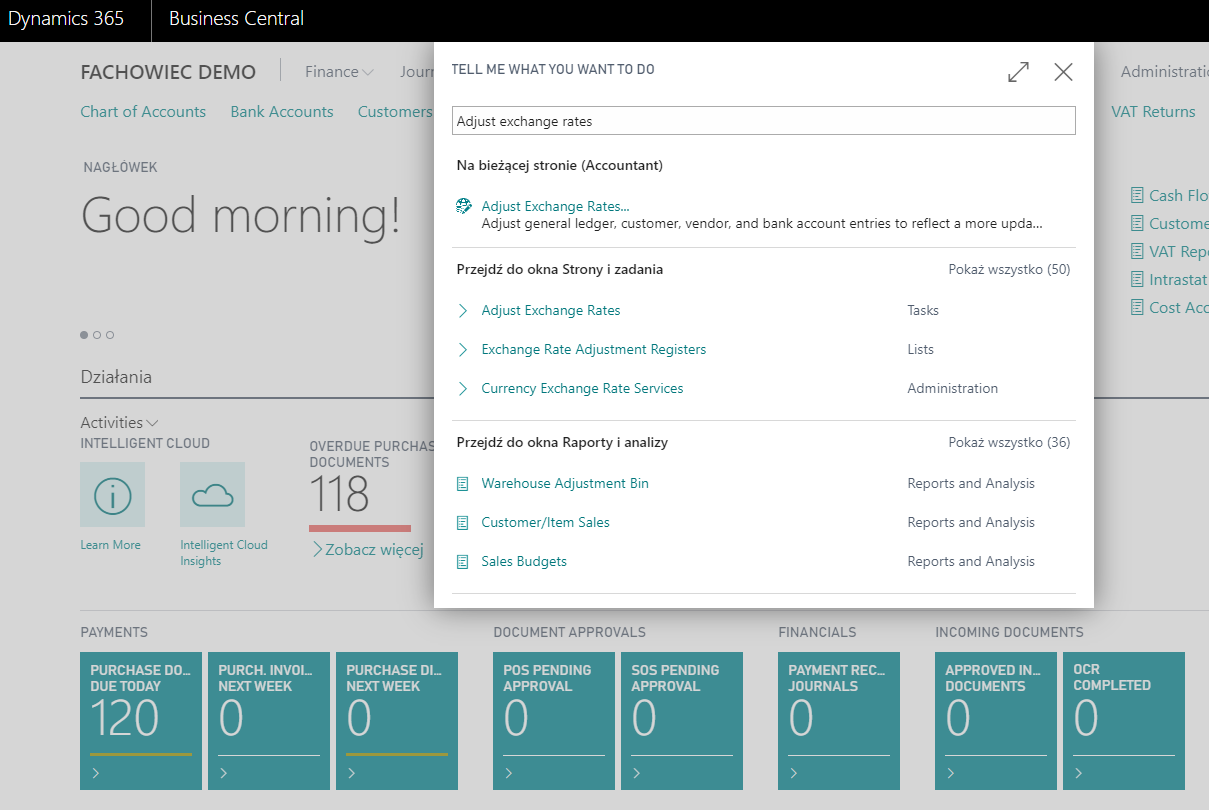
After opening the Adjust EXCHANGE RATES pop-up, fill the empty fields, which are described in detail below.
- It is necessary to define the period of posting adjustments by completing two fields: Start date and End date.
- Posting description – optional information about the adjusted exchange rate.
- Posting Date – usually the same as the end date.
- Document number – it is worth providing the number in accordance with the numbering in your company.
- We can choose on which documents exchange rates are to be corrected. The choices are:
- Adjust Bank Accounts
- Adjust G/L Accounts for Add.-Reporting Currency
- Adjust Customer
- Adjust Vendor
After going through the above settings, we can go to the currency settings that we want to correct.
There are many different ways to find a currency. The simplest solution is the selected appropriate Code (e.g. EUR).
After setting the currency, just click OK to confirm, you can also print a preview of the corrected documents in Excel or Word.

The article was based on the movie from the Microsoft Dynamics 365 YouTube channel: https://www.youtube.com/channel/UCJGCg4rB3QSs8y_1FquelBQ