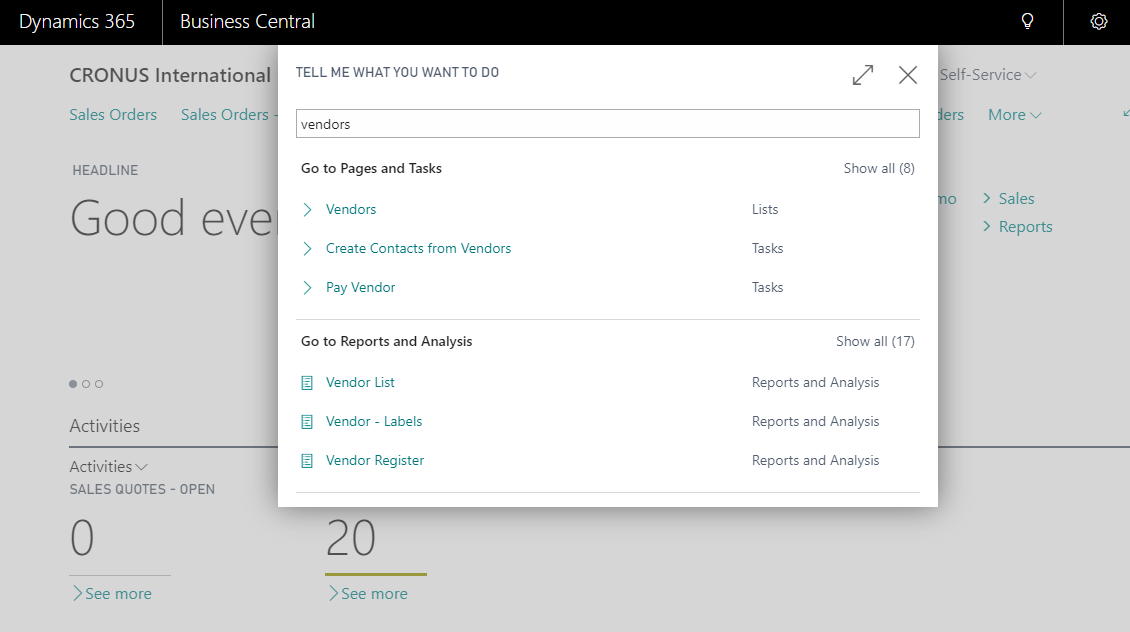
To create a new vendor, simply type “Vendors” in the search field, and then select the Vendors list in the search results.
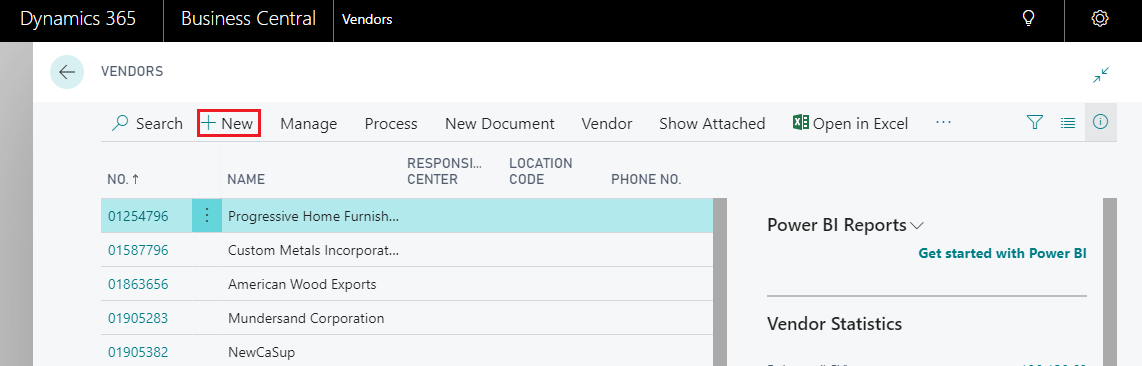
After switch to the vendor list page, select New to open a new vendor card.
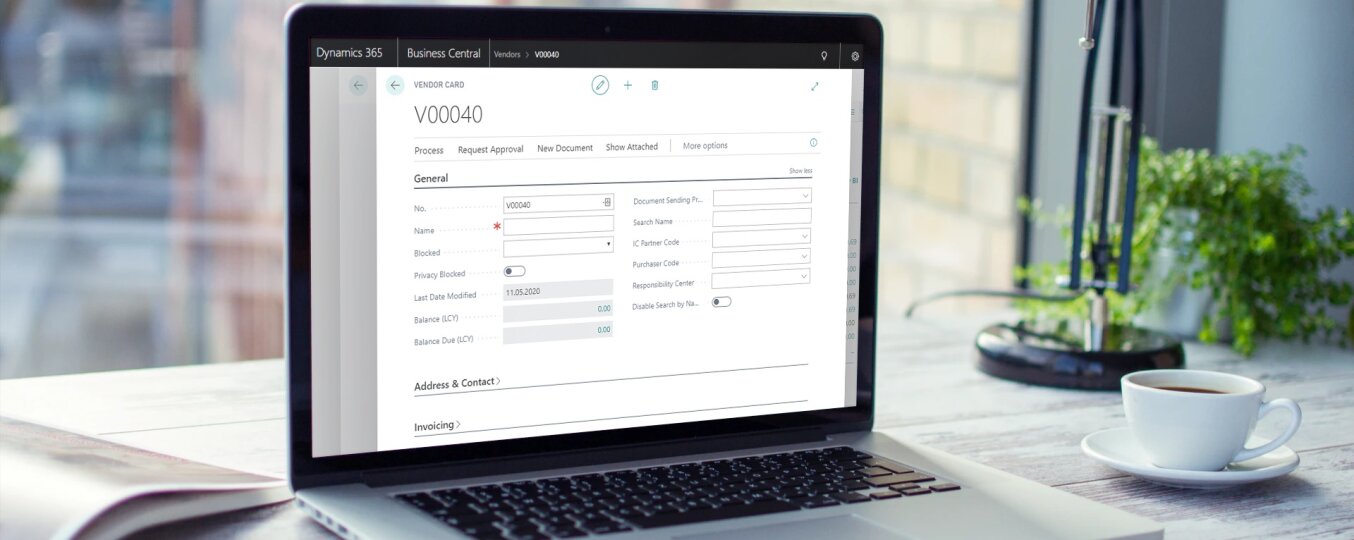
After opening the vendor card, just complete blank fields.
The data that can be filled in is grouped into four categories:
- General
- Address & Contact
- Payments
- Receiving
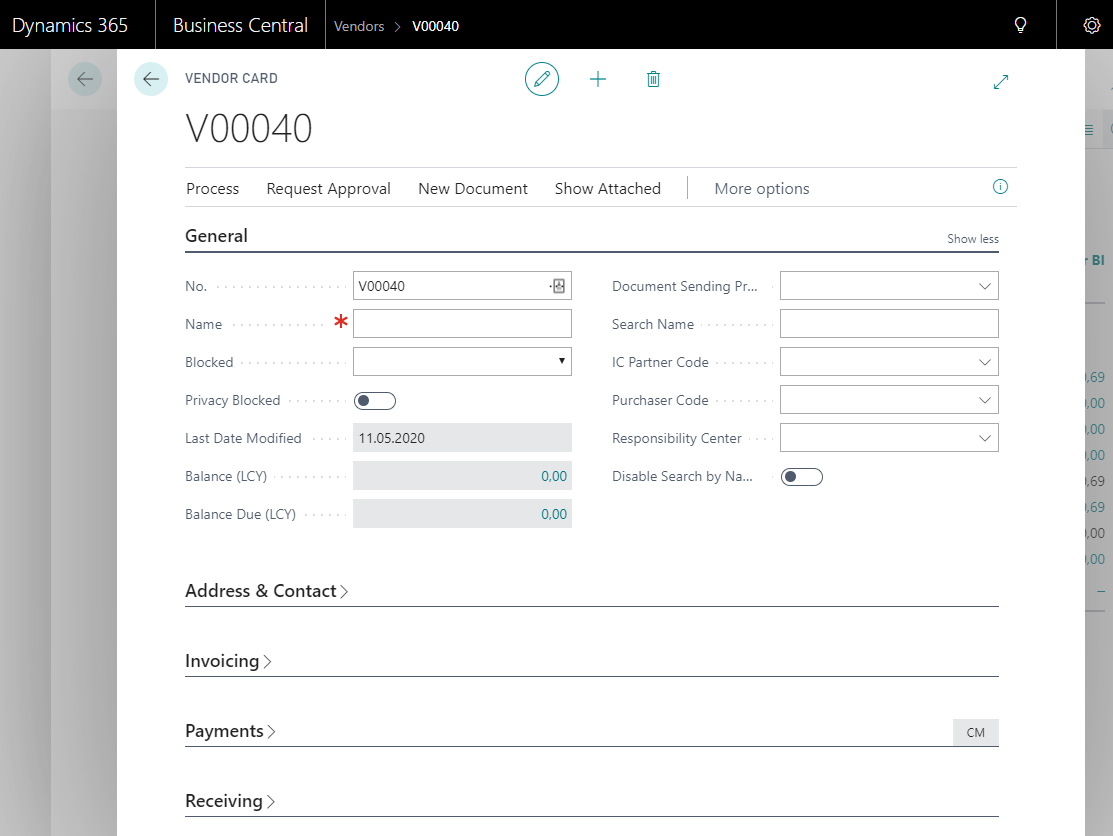
General
Name: It is necessary to complete the field with the name of the vendor (you can enter up to 30 characters).
Blocked: determines whether the associated record is to be blocked to prevent its posting in transactions when vendor insolvency is declared or the inventory has been quarantined. You can also block due to privacy protection.
Balance: determines the value of total purchases from a given vendor in the current fiscal year. The value is calculated on the basis of amounts excluding VAT in all completed purchase invoices and correcting invoices.
Balance due (PLN): defines the value of unpaid purchases from a given supplier in the current fiscal year. The value is calculated on the basis of amounts excluding VAT in all open purchase invoices and correcting invoices.
Document Sending Profile: determines the preferred method of sending documents to the vendor, so that when you post a document and send it to the vendor, you don’t have to choose the sending option every time.
Purchase code: identifies the buyer assigned to the given supplier.
Address & Contact
On the Address and Contact tab, enter the vendor’s contact details, such as postal address, telephone number, and email address.
Invoicing
In the invoicing tab, it’s place for data necessary for invoices. Including VAT ID, prices with VAT / without VAT, currency and posting details (including connection of transactions with the appropriate general ledger etc.).
Payments
In the payment tab, you can set your preferred payment method, preferred bank account code, and set details about payment dates.
Reveiving
In the receiving tab, we define elements such as the location of the warehouse, where stocks from a given vendor are located by default and we configure the delivery planning calendar (e.g. deliveries on specific business days).
After completing all required fields, we can start shopping from a new supplier!
Sources:
1) https://www.youtube.com/watch?v=wOAWeOZxh48&list=PLcakwueIHoT-wVFPKUtmxlqcG1kJ0oqq4&index=28
2) https://docs.microsoft.com/pl-PL/dynamics365/business-central/purchasing-how-register-new-vendors